I’m a DIY sort of person — not on the scale of building decks or patching roofs, but let’s just say one Christmas my husband gave me a sapphire bracelet and a compound miter saw. When the toilet needs to be fixed or the cabinets need to be moved so the new refrigerator can fit in the old opening, I’m the gal for the job. And woe to the unprepared repairman who asks my husband to borrow a tool. He will just be redirected back to the “little lady” he strode past to get to the man of the house.
Unfortunately, my hot dish of competence comes with a heaping side of procrastination and a big dollop of perfectionism dripping off the plate onto Grandma’s heirloom tablecloth. It’s a double whammy, Folks. Getting started on a project is as easy for me as getting the cat to cut our grass on the Fourth of July.
“But the perfectionism is a good thing, Ellen! A perfect project is what you want, right?” you say.
Well, thanks for being my enabler, but no. My meticulousness does not spring from a bottomless well. I waste so much energy in the beginning with precision that I often fail to cross the finish line. Seriously, it’s like I’m inches from breaking the tape and I’m liked, “Meh, I ran 12.9 miles. Good enough. I think I’ll go have a margarita. And start another race.”
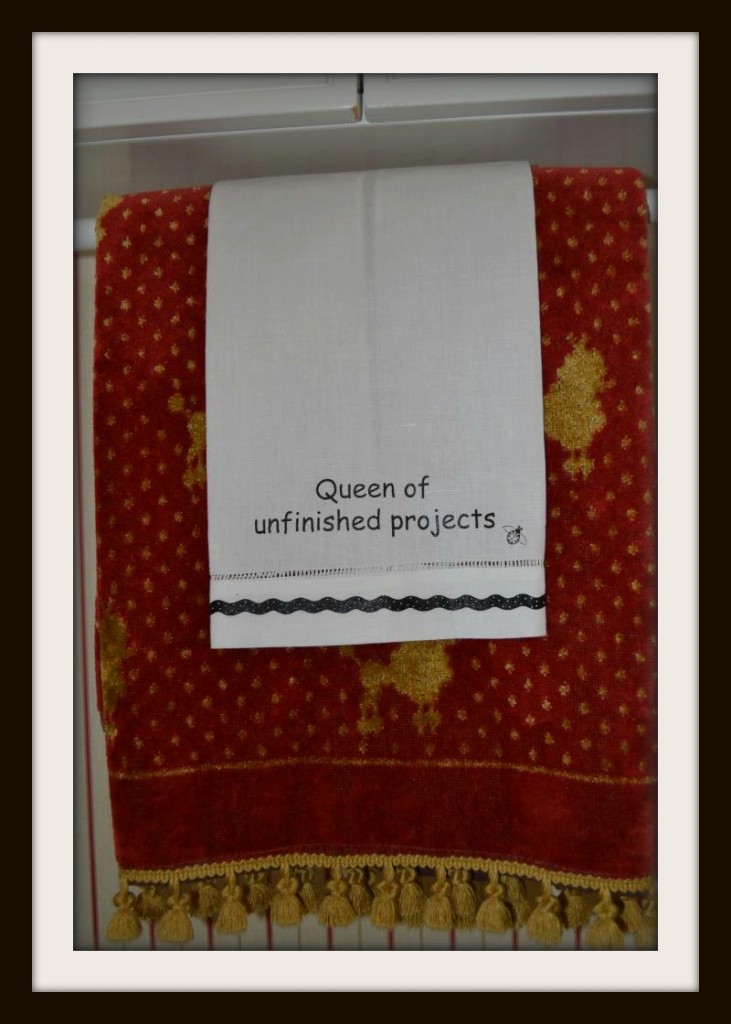
This towel hangs in my bathroom next to the tub with the surround I built and installed . . . with the nail holes still unfilled.
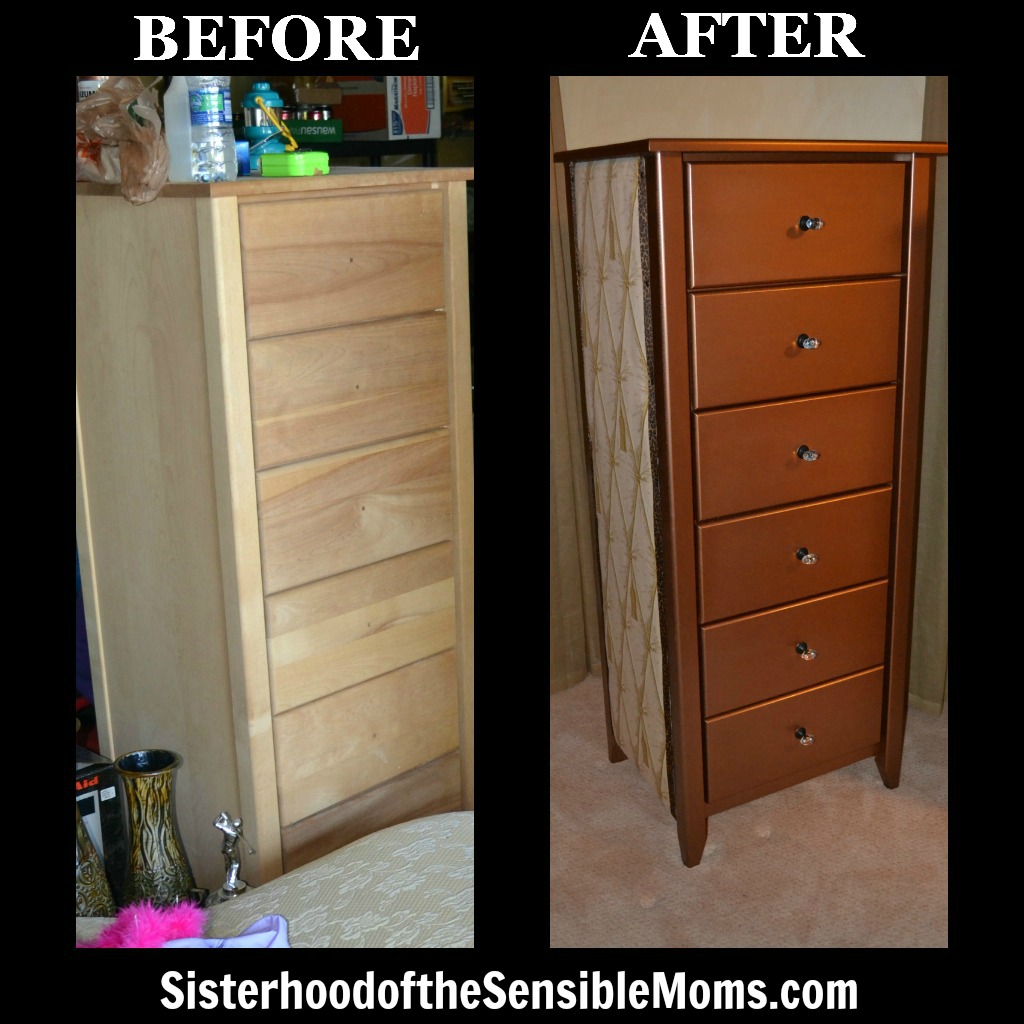
But the project I’m sharing with you today is epic and finished (well, it will be by the time I post this — fingers crossed). And epic is not hyperbole. This project spanned two centuries.
A Gazillion Steps to Finishing Two Lingerie Chests
Now don’t get all hot and bothered. I don’t have enough lingerie to fill two pieces of furniture. It’s just what they’re called and these are the drawers that would fit on either side of the TV armoire . . . a piece of furniture that is now obsolete and needs to go because we want a bigger flat screen. But the easiest way to get it out would be to take an ax to it and I don’t have that kind of violence simmering within me right now.
Anyway, back to my project that begins at the turn of the century in 1999 . . .
The Steps
1. Buy two unfinished pieces of furniture because you want to be creative and do something special with them.
2. Realize that your time would be wasted doing something special with them because there is no Facebook or Pinterest on which to show them off. Incidentally, you discover you are pregnant with your second child and think huffing hydrocarbons would not be the responsible thing to do.
3. Put chests in storage for 13 years. Wait for social media to take the world by storm.
4. Rejoice that there is Pinterest and remember that you have a project to complete. Remembering is not hard since you have to climb over these drawers every year to excavate the Christmas decorations.
5. Pin all the things to make these chests ever-loving fabulous!
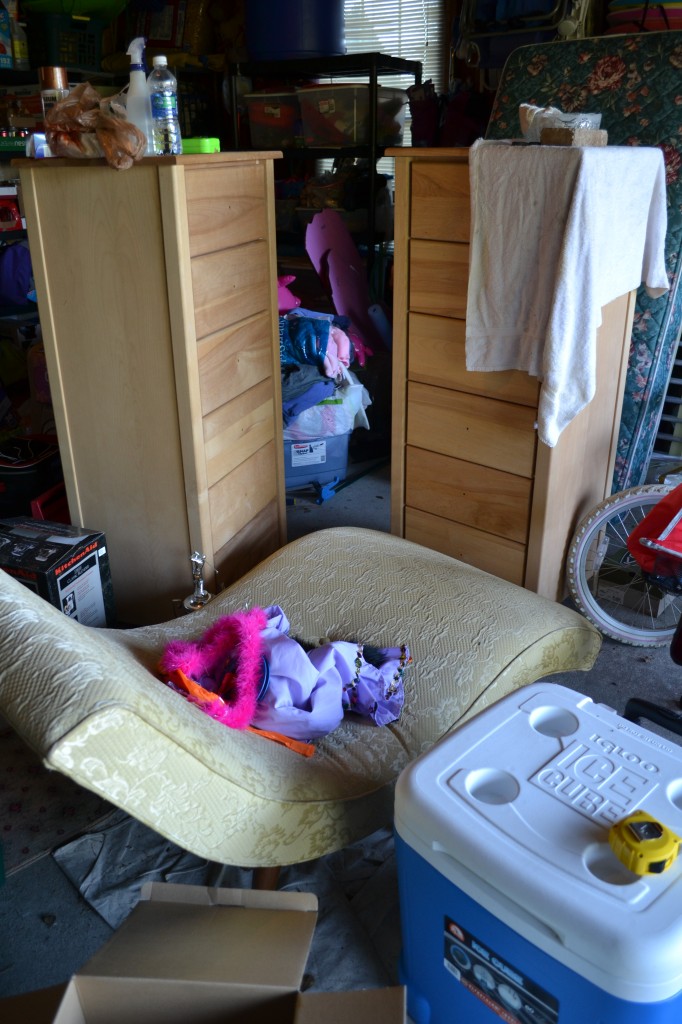
6. Decide to haul drawers out of the basement to the garage in May 2012. This is not only the end of the school year, but the end of two milestone school years — my oldest graduating from 8th grade and my youngest graduating from 5th grade. My calendar looked like this.
7. Fail to get drawers completed — and by completed, I mean started — before school ends.
8. Spend summer having fun and not parking in the garage. Beat down anxiety as junk slowly creeps into the space where the car use to be.
9. Kids are back in school! Clear out garage to get to the drawers. This only takes a day or 15.
10. Search through stash to see if you have anything with which to complete this project. After all, DIY is supposed to be economical!
11. Find some pretty cream colored glazing stain. Remember that yes, this is what you wanted to do with the chests. But alas the jar is tiny and the company that made it went out of business. Mourn the loss because you’re sure it would have worked really well. Since they were good enough to stay in business and all.
12. Say, “Patooey! This project has been over a decade in the making, but I don’t have time for that whole staining process. To the Home Depot for spray paint!”
13. Buy a case of spray paint because you are NOT going to get burned with that whole “going out of business” thing again. No siree. Spend a mortgage payment on drawer pulls while you’re there.
14. It is time to start sanding. Whoopee! Nothing is more fun than scraping your knuckles and breathing in sawdust. Pull out the first drawer and find the knobs you bought a lifetime ago — my youngest daughter’s lifetime that is. They are perfect, but this leads you to the next chore . . .
15. Return the recently purchased knobs to Home Depot. Celebrate your new found fortune . . . until you write your mortgage check.
16. Put on a super cute outfit and commence sanding. Make sure you do it well and go with the grain. My furniture was bare so I started with a fine grit sanding sponge. Sanding is the foundation to a great finish. (REAL TIP ALERT!)
17. Search for a tack cloth to remove the dust, the next step to a smooth finish. For some reason you can’t find one on your work bench.
18. Declare, “I am NOT going back to Home Depot.” Wipe chests with a damp cloth and raise the grain of the wood. Anyone who knows the term “raising the grain” should not be stupid enough to do it. (REAL TIP ALERT: Raising the grain means to make the wood fibers swell up. It can be a good idea to do this if you are staining a piece because you swell the fibers and can sand them down BEFORE you start to stain. If you’re using spray paint, this step just sucks away your time and patience.)
19. Begin sanding process again. Skulk to Home Depot to buy a $1.79 tack cloth. Spend $20 on pansies while you’re there because, you know, you need another project.
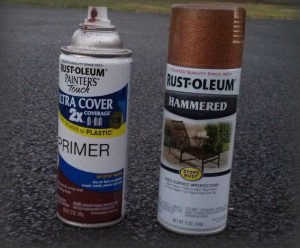
20. REAL TIP ALERT: Prime the chests using a color close to your final color. I used a red brown since my final color was a metallic copper.
21. Start spraying your layers of final color. REAL TIP ALERT: Follow the directions on the can exactly. You can do a couple of light coats within ONE HOUR, but not too many or your paint will start to sag. After that one hour passes you have to wait 48 hours for the next coat. Really. The key to a good spray paint finish is for the finish to cure and harden rather than remain gummy. In between dry coats, buff the surface lightly with a paper bag to smooth it before you start spray painting again.
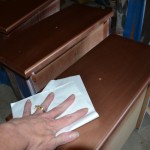
22. Pretend you’re a quirky pop star with your new metallic fingertip.
23. Repeat steps 21 and 22 until your piece is evenly finished. You may want to find something to pass the time while you are waiting for the paint to cure. I chose an emergency appendectomy, but use your own judgement.
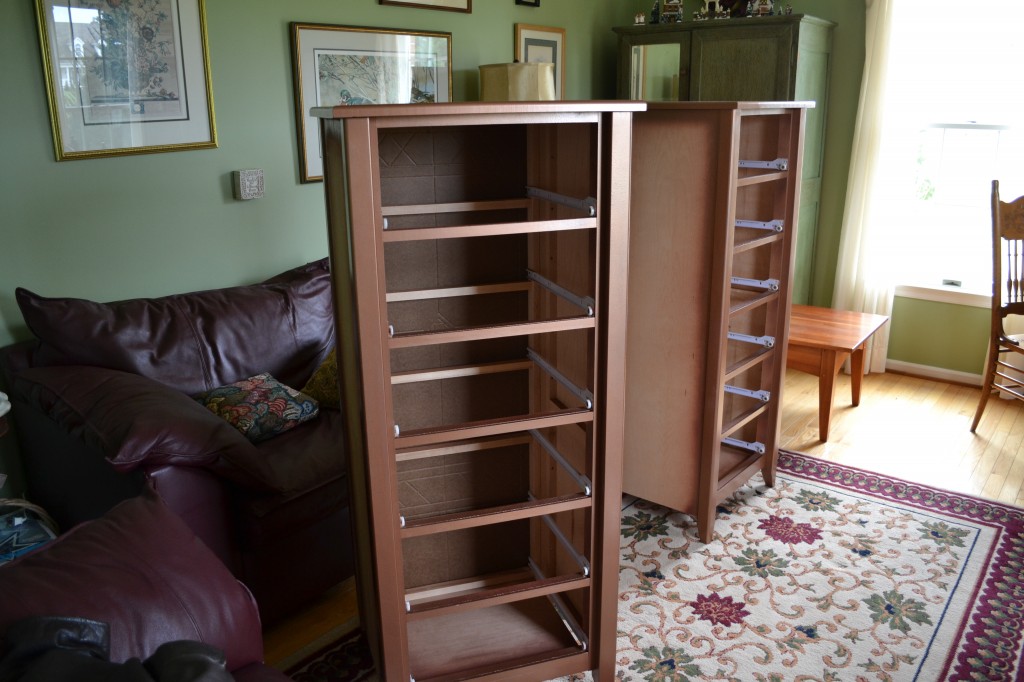
24. Panic that Superstorm Sandy is coming and might flood your garage. Move drawers into living room.
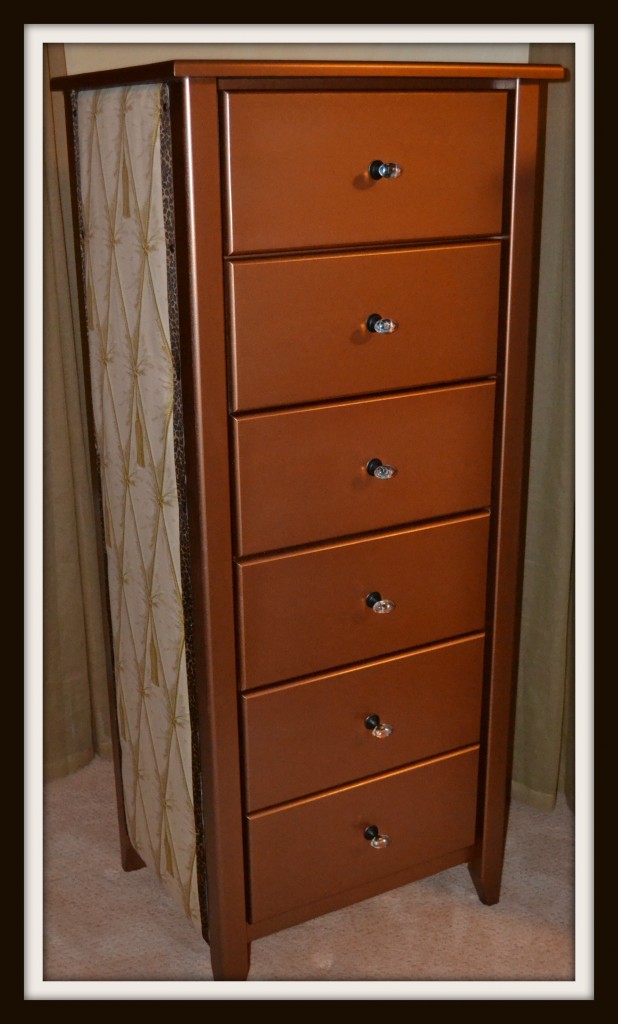
25. Decide that this project has not dragged on long enough and you need to up the wow factor by upholstering the sides. Give yourself a hard deadline by scheduling a sleepover party with 14 tween girls for your daughter’s birthday.
26. Pattern match, measure, and cut the fabric and batting for the sides.
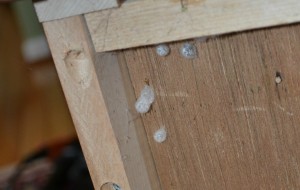
27. Allow yourself a moment to freak the hell out when you turn the furniture over and discover a bevvy of spider eggs cases. Resist setting the drawers on fire. You’ve come too far.
28. Staple! But first relocate your cat to another room so that she does not wrap herself around your head at the first <Whamp>.
29. Take a break until 2 days before the party. Make sure to include the stapler in your cleaning routine.
30. Get your butt in gear because you have a cake to bake! Finish the edges of the fabric panels with ribbon and brass tacks. Smash your fingers and destroy the “brass” finish on the tack with the first whack of the hammer.
31. REAL TIP ALERT: Remember the trick of holding the tack with a fork or comb and search for your tack hammer. For some reason, you still can’t find anything on your work bench. Pilfer the mouse pad that was included in your awesome prize basket that you won in the twisted crafting contest sponsored by The Bearded Iris and The Suniverse and wrap it around the only hammer out of five that you can find.
32. Voila! Five hours later you’re finished!
That Was Easy.
Thanks to Robyn at Hollow Tree Ventures for inspiring me to chronicle my DIY efforts with her hilarious post “How To Be An Artist In Umpteen Easy Steps.“
–Ellen








They look great! I can relate to being a procrastinating perfectionist. And I really admire your DIY abilities – I don’t have any. (At all.) 🙂
Kim@Co-Pilot Mom recently posted..Always Be My Baby
A procrastinating perfectionist is a deadly combination, right? Ellen
That looks beautiful!
I can’t DIY for the life of me, if I’d tried something, it’d NEVER get finished.
Alison recently posted..Being The Baby
Thank you! I don’t know, Alison. You did DIY some pretty adorable kids. Ellen
I am wondering how you found out my secret process to DIY stuff?! and took pictures at my house? Where was I? on Pinterest or something looking for new projects to half start? The drawers look great, you did a fabulous job!
Audrey recently posted..Friday Funnies #16
Ha! We should go into business together. That way we could get TWO projects done per decade. Ellen
It did turn out beautifully. Good thing you didn’t rush.
Ginger Kay recently posted..Please don’t invite me to your baby shower.
Yes, I highly recommend spacing a project out over a decade. You can’t be too careful. 🙂 Ellen
They turned out really nice, and thank you for reminding me why I don’t ever start/complete projects yet have a whole garage full of tools to do the job yet am always missing just one thing. Those cheap projects never turn out to be cheap. Like the time I pulled a cupboard off the side of the road thinking I would strip it and re-stain it to make a great little place to hide the kids toys. Spent 20 bucks on stuff to strip it and then said ditch it. This isn’t going to happen.
Jane@FromADoctorsWife recently posted..One More Reason To Love
Gawd, I hope you did not start the process of stripping it because that is nasty work. And I definitely have THOSE kinds of projects laying around the house . . . and the products I bought to complete them. Ellen
This post is awesomely funny. And the drawers look great! You should go into business refinishing furniture. I’m sure you could complete your first job in time for retirement. 😉
Bridget recently posted..On Momhood
Ha! So true! But I’d better get started now. Ellen
Beautiful! I’m a procrastinating perfectionist, too. I am claiming that moniker with you!
Marie recently posted..My top girls’ names (Monday Listicles)
We should start a club! Ellen
I love it!! Now where are they going??
Thank you! That means a lot coming from the queen of furniture refinishing. Next to the TV armoire . . . once I get the junk moved out of the way. Ellen
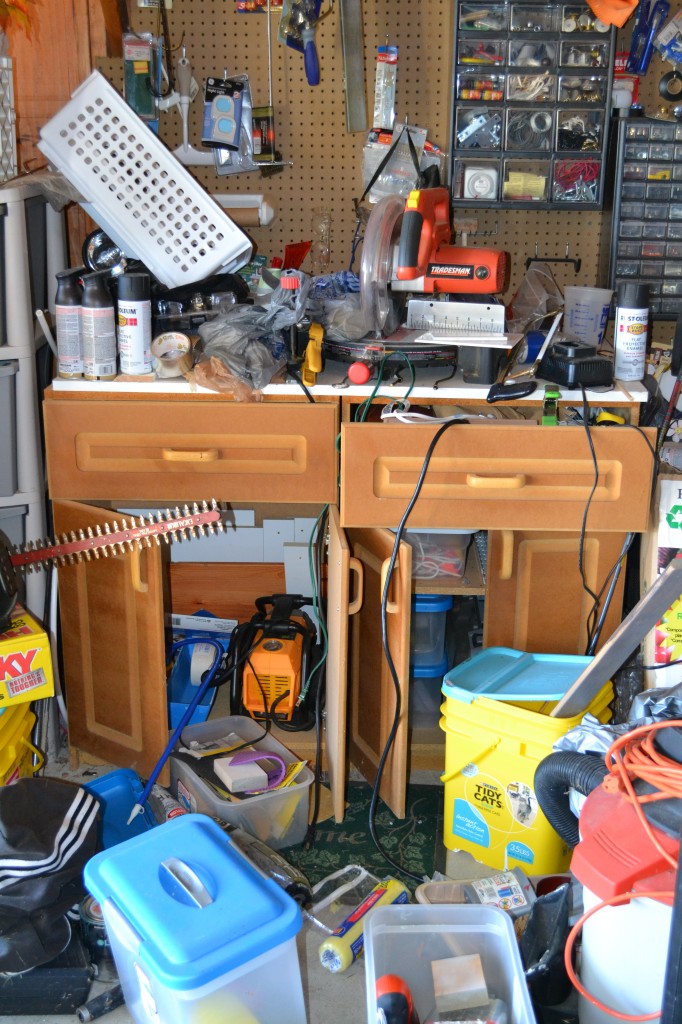
This is awesome, so happy to have been and kind of small inspiration in encouraging you to chronicle it for us! 🙂 The finished product is great, but my favorite photo is the one of your work bench!
hollow tree ventures recently posted..8 Major Signs It’s Time To Clean
I had just started on the project (talking this fall, not 1999) when I read your hilarious post. And I was all, “Eureka, I can get a blog post out of this too!” I really attribute needing to get the post out to actually finishing the chests.
True confession time: I don’t have the knobs on the second set of drawers and now that I’ve published this piece, it does not look good.
Ellen
Ha! I hear you – the ONLY reason those “paintings” are done is for the blog fodder. 😉 If I were you, those knobs would never make it on the drawers.
hollow tree ventures recently posted..10 Reasons Why I’m Great
I cannot tell you how impressed I am, Ellen! It was totally worth the 13-ish years it took to bring the project to fruition. It looks FANTASTIC!
I completely loved the real tips, too! I mean, I’m never going to use them in a practical way because I don’t DIY at all, but I always like learning things. It means I can be a know-it-all the next time my husband takes on a project. WIN-WIN! –Lisa
The Dose of Reality recently posted..Two Out of Three Ain’t Bad
Collecting information you never use can be your thing! You know, like collecting projects I’ll never finish is my thing. 🙂 Ellen
I am not really a DIYer, but I’m an organizer. And a procrastinator. That chest is beautiful!!
Michelle Longo recently posted..29. Spinning My Wheels.
That’s what I like! An organized procrastinator. Ellen
Beautiful job. I can totally relate to taking 13 years to complete a project. The other day I found a bag of items for a DIY Christmas present that I had bought at least 20 years ago!! The spray can had leaked and solidified!! I am a Procrastinating Prognosticator and often predict my procrastination attempts.
samatwitch recently posted..Autumn Colours
I love it! Procrastinating Prognosticator. Say it out loud. It’s hilarious. Ellen
I am in awe. Utter awe. I don’t care how the hell long that took; those drawers are fantastic (and the drawer pulls totally make them perfect). I look at it this way: if it takes a super-long time to make these DIY projects, it’s like you’re making something that’s both new AND vintage, all at the same time. Brilliant.
I bow down before your DIYmajesty.
deborah l quinn recently posted..Studio 30 Plus
You are TOO kind, but I’ll take it because this project nearly killed me. I figure I am the DIY for the rest of us. I couldn’t have a show on HGTV, I’d have to have a mini-series. Or a long series.
I am going to call them my vintage lingerie chests starting today! Ellen
I’m so impressed! I am so not a DIY. My husband starts things but almost never finishes. He decided two months ago to put in the fire pit himself (while I’m telling him to call the landscapers). The slabs he pulled out of the patio are just sitting there. We could use a little Ellen here!
Stacie @ Snaps and Bits recently posted..A Little Twinge
Yeah, you could use a little Ellen if you were willing to wait a decade for that fire pit. 😉 Ellen
Have you ever known a procrastinator who wasn’t a perfectionist?
Those are just lazy people, right? Ellen
Ha! That is me all the way! I moved 9 months ago I have had this dresser in the garage for 9 months piling crap on it and painting a piece here and there. I had high hopes for this piece. This weekend I took the plunge. I couldn’t decide on the color so I picked 4 out of the stash closed my eyes and told the kids to move them around while I closed my eyes and pointed. I know Martha would be jealous I came up with that foolproof plan of picking paint color. Half way through I saw how horrible my garage looks and started sweeping and moving stuff and then I found Christmas decor and realized its nice out. Needless to say just the drawers will be painted this weekend 🙂 your dresser looks great! I never would have thought about upholstering the sides. Genius
Sorry kid, your mom doesn’t play well with others recently posted..Dear county inspector…
That. Is. Great. You know if you follow the formula set by Hollow Tree Ventures, you got yourself a blog post. Ellen
What a great DIY transformation. Great idea.
Linda recently posted..My Pinterests
Thank you so much! They are super great now that I have all of the knobs on and they are loaded with our stuff. Ellen
Ahhhh, you and the other posters make me feel ” normal”; i.e., procrastinator perfectionists (with a touch of ADD thrown in, in my case!).